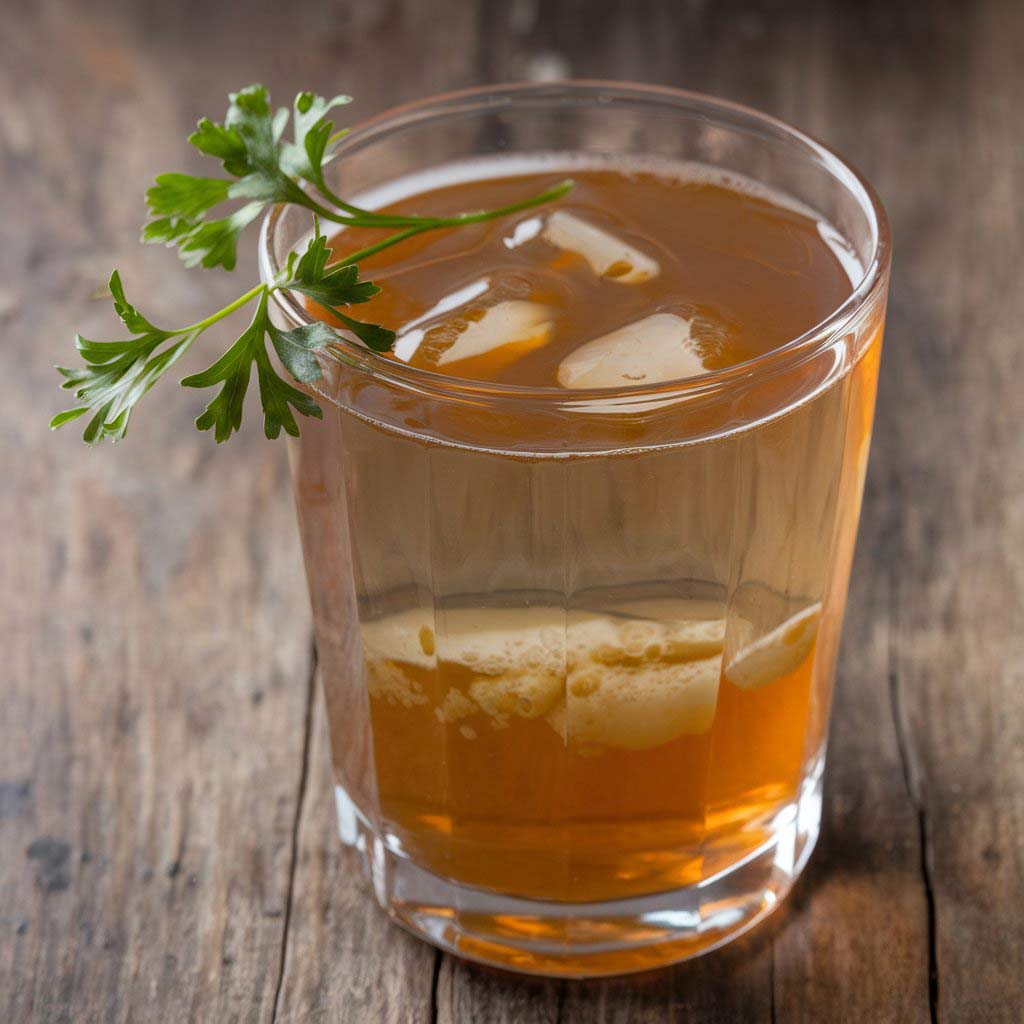
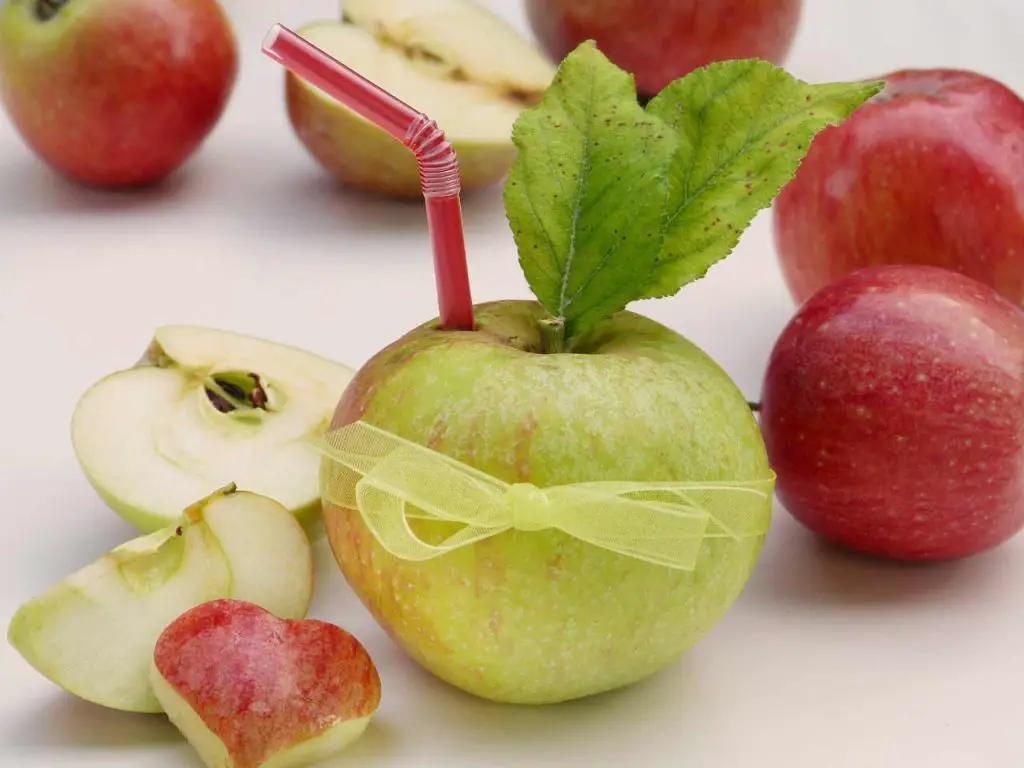
If you’re looking to preserve the fresh, crisp taste of apples year-round, canning apple juice is a fantastic option. Not only does it capture the delicious flavor of the season, but it also ensures you have a healthy, homemade beverage on hand anytime you want it.
In this guide, we’ll walk you through the step-by-step process of canning apple juice, ensuring you get the best results every time.

Benefits of Canning Your Own Apple Juice.
Canning apple juice at home allows you to control the quality and ingredients of your juice. Store-bought juices often contain added sugars and preservatives.
By canning your own, you can create a pure, wholesome product free from unnecessary additives. Plus, it’s a great way to use up a surplus of apples from your backyard orchard or a local farmers’ market.
What You’ll Need
| Item | Description |
|---|---|
| Fresh apples | Preferably organic, a mix of sweet and tart varieties |
| Juicer or apple press | Juicer or Apple press |
| Large pot | Used for heating the apple juice |
| Cheesecloth or sieve | Fine-mesh sieve for straining the juice |
| Canning jars | Jars with lids and bands for storing the juice |
| Water bath canner | For processing the filled jars |
| Lemon juice (optional) | Helps preserve color and enhance flavor |
Step-by-Step Guide to Canning Apple Juice 😉
1. Select Your Apples
Choose a variety of apples for the best flavor. A mix of sweet and tart apples like Gala, Fuji, and Granny Smith works well. Make sure they are ripe and free from bruises or blemishes.
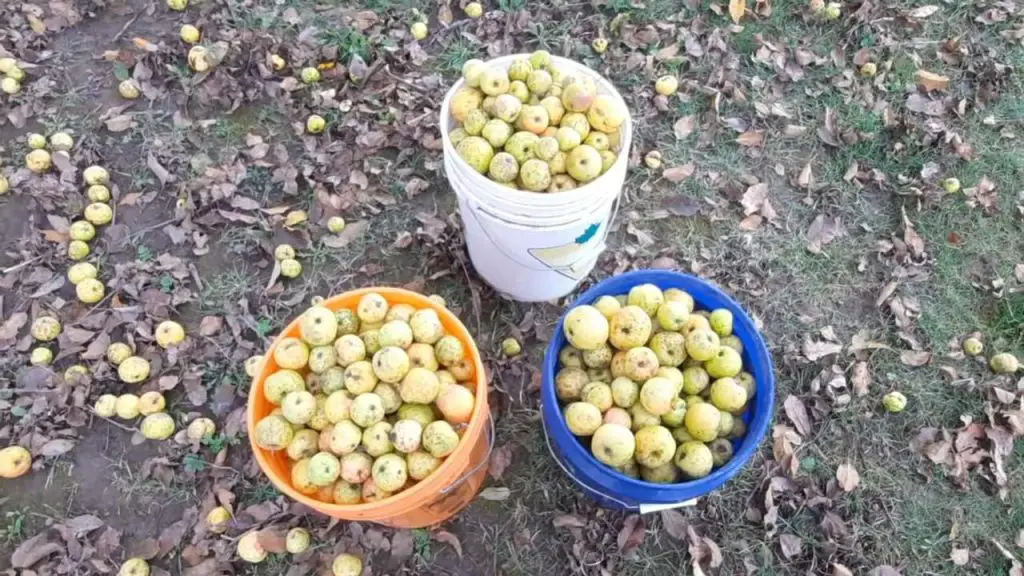
2. Wash and Prepare the Apples
Thoroughly wash the apples under running water to remove any dirt or pesticides. Cut the apples into quarters, removing any stems and cores.
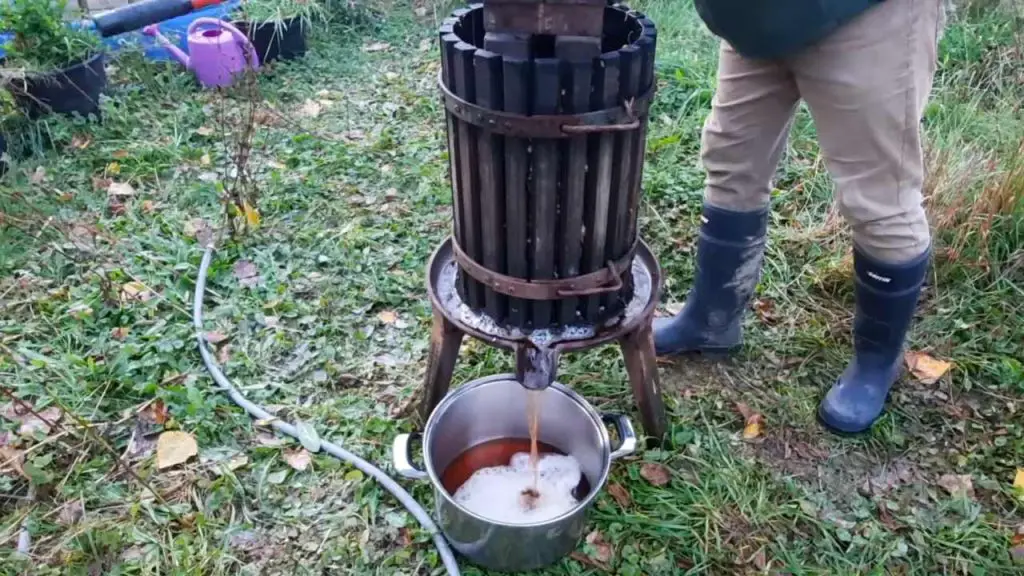
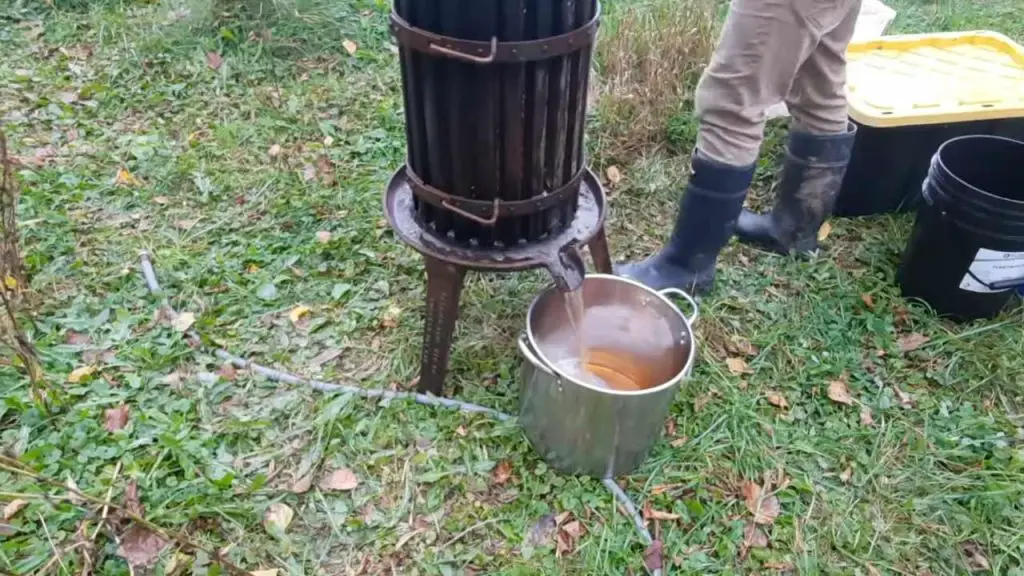
3. Extract the Juice
Using a juicer or apple press, extract the juice from the apples. If you don’t have a juicer, you can also cook the apples in a large pot with a bit of water until they are soft, then mash them and strain the mixture through a cheesecloth or fine-mesh sieve to extract the juice.
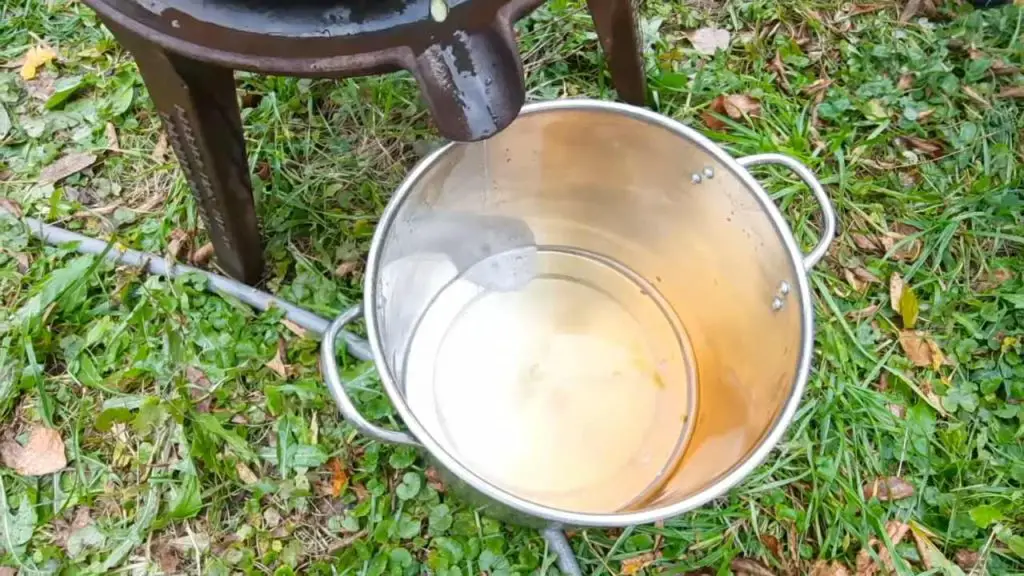
4. Strain the Juice
To ensure a clear juice, strain it a second time through a cheesecloth or fine-mesh sieve to remove any remaining pulp or sediment.
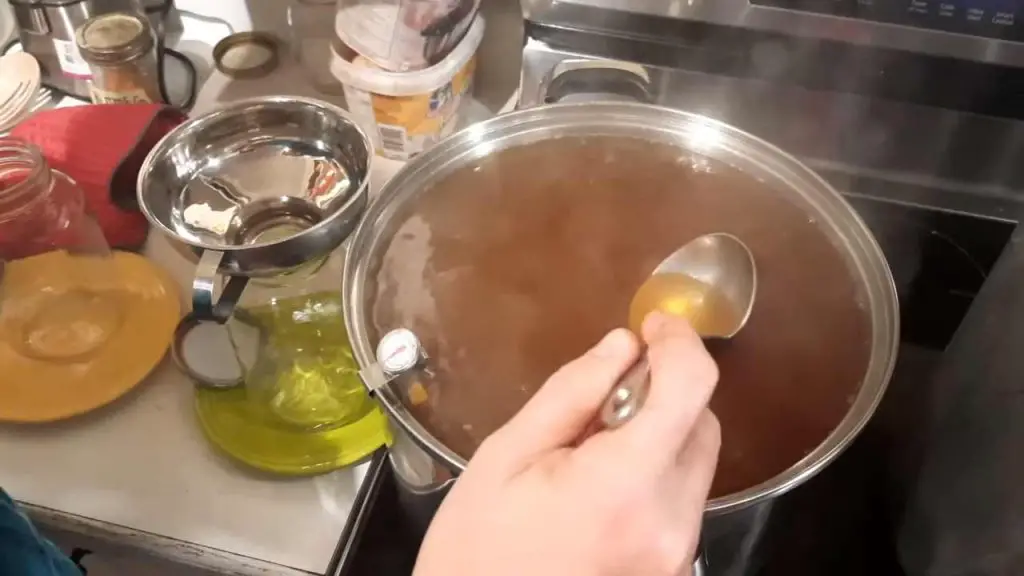
5. Heat the Juice
Pour the strained juice into a large pot and heat it over medium heat until it reaches 190°F (88°C). Do not boil the juice, as this can affect its flavor and clarity. If you like, add a tablespoon of lemon juice per gallon to help preserve the color and enhance the flavor.
6. Prepare the Jars
While the juice is heating, sterilize your canning jars and lids by boiling them in water for 10 minutes. Keep them hot until you’re ready to use them.
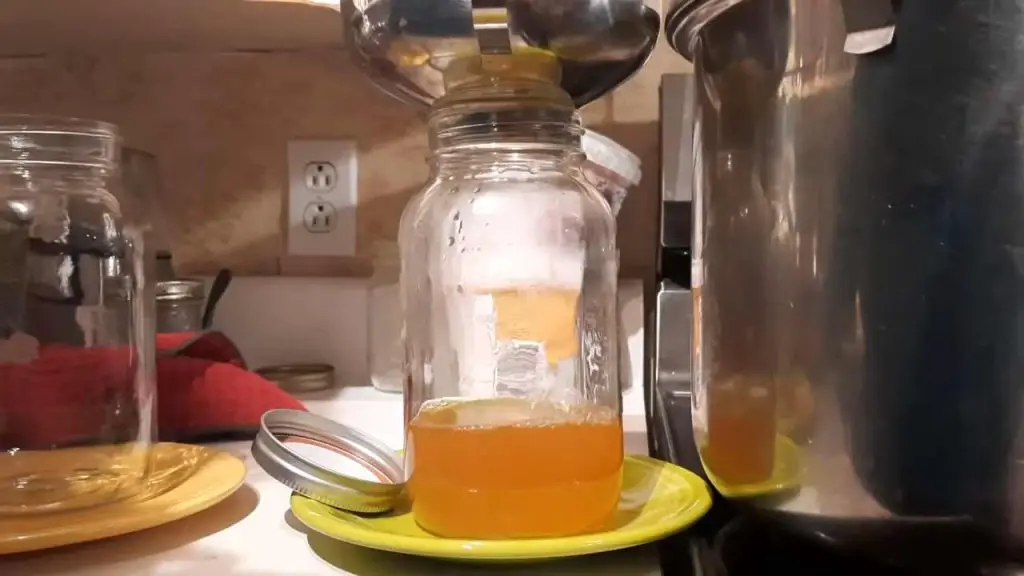
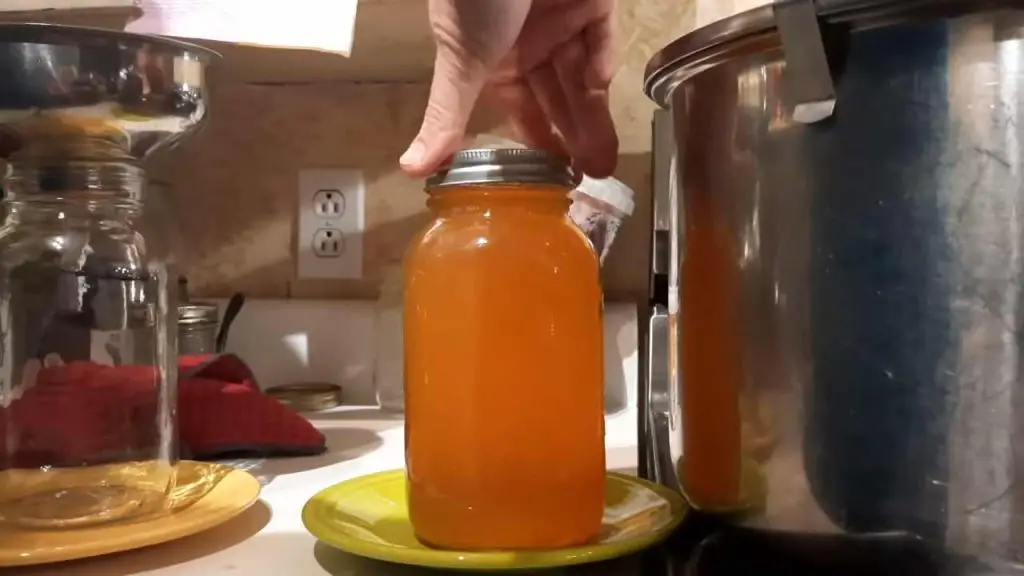
7. Fill the Jars
Carefully ladle the hot juice into the sterilized jars, leaving about 1/4 inch of headspace at the top. Wipe the rims of the jars with a clean, damp cloth to remove any juice residue. Place the lids on the jars and screw on the bands until they are fingertip-tight.
8. Process the Jars
Place the filled jars into a water bath canner. Ensure they are fully submerged with at least 1 inch of water above the jars. Bring the water to a boil and process the jars for 10 minutes (adjusting for altitude if necessary).
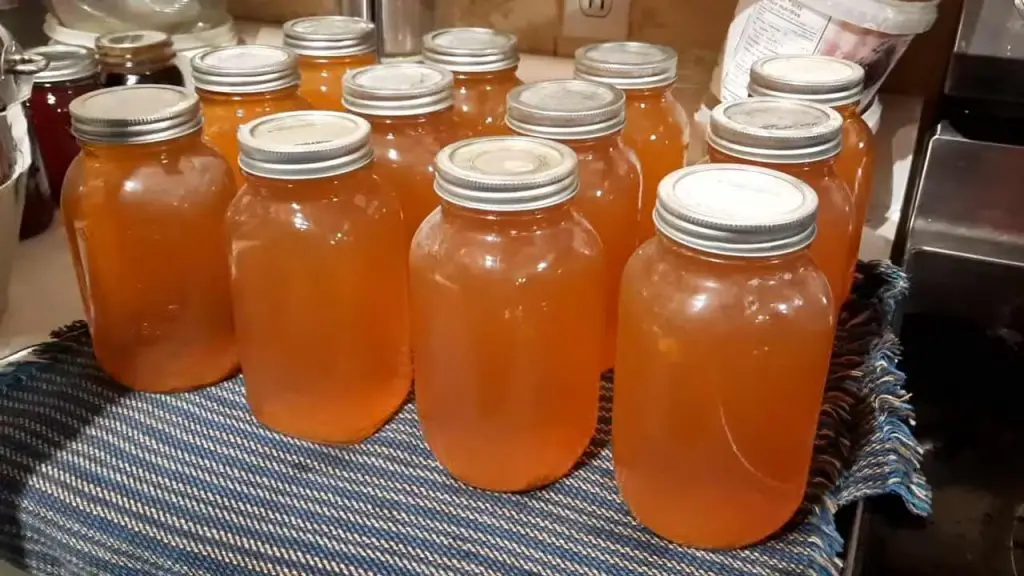
9. Cool and Store
After processing, carefully remove the jars from the canner and place them on a towel to cool. Once cooled, check the seals by pressing down on the center of each lid. If it doesn’t pop back, the jar is sealed properly. Store the sealed jars in a cool, dark place for up to one year.
Tips for the Best Results
- Use fresh, high-quality apples: The better the apples, the better the juice.
- Strain the juice well: This ensures a clear, smooth final product.
- Monitor the temperature: Heating the juice to the right temperature without boiling preserves its flavor.

Je m’appelle Gunther Adam et je suis ravi de partager avec vous le monde des saveurs vibrantes, de la vie saine et de l’art du goût. Learn More